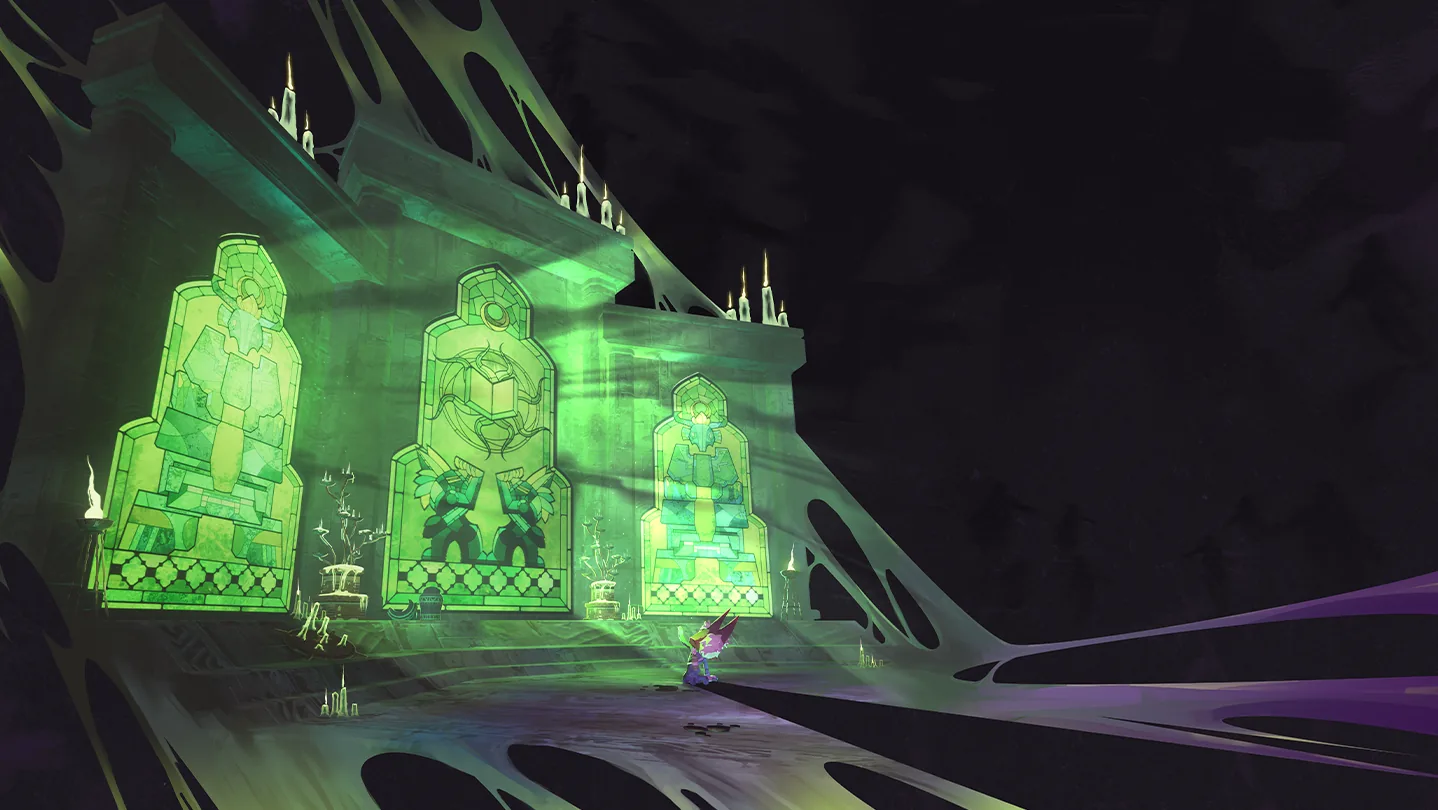
The Providence encounter in Risk of Rain 2 is the Echo of Providence, an optional Hallowed Concepts boss in Terminal Lucidity. Reach it by using the Reincarnation Page in a valid sacrifice zone, then complete four consecutive boss phases. The second phase replaces Providence with two Corroded Wurms; the fight is not finished when the first Providence health bar disappears.
This is a different encounter from Providence's final-boss role in the original Risk of Rain and Risk of Rain Returns. In Risk of Rain 2, the Echo is a lingering memory of Providence and an optional route, rather than a replacement name for Mithrix on the Moon.
Identify the encounter and its requirements

The Echo belongs to Hallowed Concepts, so that expansion's content must be enabled. Its arena is Hidden Realm: Terminal Lucidity, subtitled The Last Breath.
Every route into Terminal Lucidity requires casting Reincarnation in the correct location. Merely owning the N'tormat or completing an ordinary stage does not create a standard entrance portal to this realm.
The common approach passes through Soulbound Threshold and its Veil of Memory. Other stages have sacrifice zones that can lead directly to Terminal Lucidity. Those routes have different safety and positioning rules, so identify which one you are using before casting the Page.
| Route | Main action | Important difference |
|---|---|---|
| Soulbound Threshold door | Complete the ritual, then cast Reincarnation at the door | This special zone kills no one and does not require a book holder in the circle |
| Another stage's sacrifice zone | Cast Reincarnation in a valid zone with a N'tormat holder in the ritual circle | The ritual kills players inside its circle before the transition |
A completed N'tormat is not a separate required six-Page checklist for the Soulbound Threshold door. You do need the Reincarnation action itself. Having unrelated Pages cannot replace the ability you must cast.
Use the Soulbound Threshold door route
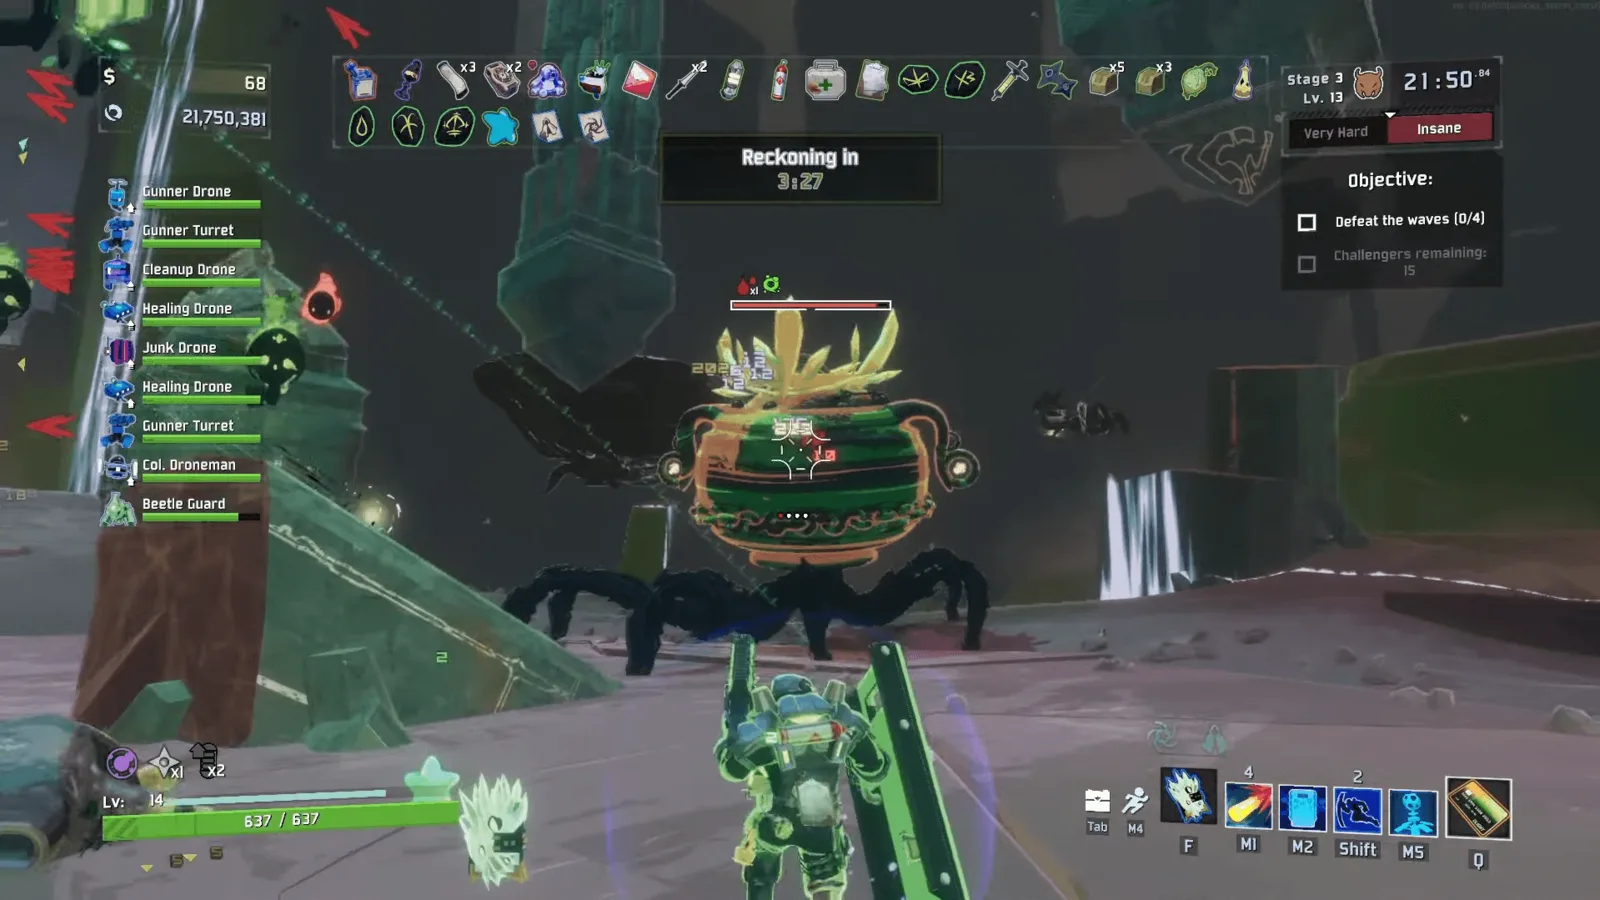
First complete the Soulbound Threshold ritual route. Clear its four challenges and defeat both phases of the Anima Harvester. Killing only the first phase does not finish that encounter.
After the second phase dies, interact with the altar using Beseech the orb. This completes the ritual and activates an 18-meter Reincarnation sacrifice zone at the door.
Cast Reincarnation inside that zone. It opens the Veil of Memory with the interaction Go beyond the veil. Use the Veil to enter Terminal Lucidity rather than the Mortal Portal that returns to ordinary stages.
The door's ritual does not kill players and does not require a N'tormat holder to stand in the circle. It works after a completed ritual even when the team does not hold a complete N'tormat. The exit objective's additional hint for a complete book does not add a new door requirement.
The improved Hallowed Shrine in Soulbound Threshold offers an opportunity to cleanse eligible permanent Hexes before proceeding. Decide whether you need that relief or want to retain the Hexes, and remember that choosing Hand of Death closes Life for everyone. A reward interaction is preparation for the next fight, not its completion.
Use other sacrifice zones with the correct positioning
Direct Terminal Lucidity zones are listed in Bulwark's Ambry, Helminth Hatchery, Reformed Altar, and Prime Meridian. Expansion-stage availability still depends on the content enabled for the run.
In Helminth Hatchery, the zone is around the table holding Providence's broken sword in the room beneath the Wurm's head. Reformed Altar contains two separate zones, while the Bulwark's Ambry zone is present in every version of that realm.
A player who owns Reincarnation, including a consumed copy, can receive the message that the N'tormat shudders in anticipation when inside a valid zone. That message is a useful confirmation of the location before committing to the ritual.
The circle itself has a six-meter radius and fires after two seconds. Unlike the Soulbound Threshold door, it kills players caught inside, and revive items such as Dio's Best Friend do not activate for those deaths. Those ritual deaths do not end the run.
At least one player holding the N'tormat must be inside the circle when it fires for the team to be transported. Coordinate that placement before activating. The safe exceptions at the Soulbound Threshold door are not permission to ignore this requirement at other stages.
After the transfer, players who own Reincarnation arrive with it still consumed because the Page skips its next regeneration. Do not assume the transition immediately returns that ability to an available state.
Track all four boss phases
| Phase | Enemy | Subtitle | Completion checkpoint |
|---|---|---|---|
| One | Echo of Providence | Fading Memory | Defeat the opening Providence form |
| Two | Two Corroded Wurms | Faithful to the Grave | Defeat the Wurm boss group |
| Three | Echo of Providence | Fallen Bulwark | Defeat the returning Providence form |
| Four | Echo of Providence | Dying Wish | Defeat the final form to earn encounter rewards |
Each phase has its own boss health bar and unique scaling. The fight is a sequence of boss groups, not one health bar with a purely cosmetic change at fixed percentages.
Keep track of the current subtitle and enemy group. That is a more dependable way to judge progress than interpreting every disappearing Providence model as the final defeat.
Plan to remain capable of moving and attacking after each transition. Using every resource to finish phase one can leave the Wurm phase and both later Providence forms unresolved.
Phase one and the Corroded Wurm transition
Providence fights alone in Fading Memory. Learn the visible attacks and use the space available rather than assuming the opening form's death ends the arena encounter.
Phase two replaces Providence with two Corroded Wurms. Their presence is the expected next phase, not an unrelated enemy event interrupting your route.
Each Wurm's listed base health is 480 with 144 additional health per level. Their base damage is 12 with 2.4 more per level, and their listed armor is 15. These values precede encounter-specific and multiplayer scaling.
The Wurm movement speed is listed between 30 and 40 m/s. That makes the phase visually and mechanically distinct from the Providence forms' listed 8 m/s movement speed. Track both targets rather than concentrating only on the space where Providence stood in phase one.
Defeat the boss group and expect Providence to return. There are still two phases remaining after the Wurms, so the transition is another checkpoint rather than the reward screen.
Fallen Bulwark and Dying Wish
Providence returns in Fallen Bulwark. Its moveset is not fully documented with reliable English skill names and confirmed phase assignments, so fixed attack scripts or exact universal cooldown rotations should not be treated as established requirements.
Read the attacks that are actually being presented. Preserve a way to reposition and avoid turning an uncertain predicted timing into a reason to stand in a dangerous position.
Dying Wish is the fourth and final form. It introduces fog that remains over the arena for the rest of the fight. Treat the altered arena state as part of the phase rather than assuming the final health bar uses exactly the same conditions as the opening one.
The listed Providence base health remains 1200 with 360 per level. Base damage is 15 with three per level, and movement speed is 8 m/s. Phases one and three list 20 armor, while the final form lists zero armor. These are base values before unique scaling, levels, and multiplayer bonuses.
Do not predict the full health bar from 1200 alone. The encounter's unique scaling is why a practical fight can have much more health than that base entry suggests.
Claim Echoing Essence after the final defeat
Each player receives an Echoing Essence when phase four is defeated. It offers five items: one Legendary, two Hallowed, and two Uncommon. You can take two from the offered set.
Inspect the actual selection rather than assuming a particular pairing is guaranteed. The exact restrictions on the two picks are not fully established, so plan around the displayed choices instead of requiring two items from a specific category.
A Primordial Teleporter appears afterward. Terminal Lucidity is also marked completed for the run, disabling the sacrifice zones that lead back to it. You cannot treat the same zone as an indefinitely repeatable way to farm this encounter within one run.
The kill is also a Karma-raising trigger. If optional Karma is enabled, account for that increase when deciding what confrontation you will pursue next.
Memento Mori cosmetic rewards
The relevant survivor-specific Memento Mori challenges reward skins for defeating the Echo. The reward depends on the survivor used, so choose the character for the cosmetic before beginning the route.
| Survivor | Memento Mori skin |
|---|---|
| Bandit | Plagued |
| Engineer | Nautilus |
| Artificer | Andradite |
| REX | Indurate |
| Captain | Adrift |
| Acolyte | Vessel |
The achievement wording refers to what lies beyond Soulbound Threshold's door, but the actual target is the Echo's defeat. Reaching the hidden realm or killing the earlier Anima Harvester is not the required finish.
Afterward, verify the cosmetic on the survivor screen and take your item rewards before leaving. That confirms the two practical results of the route: the completed hidden-boss encounter and the character-specific reward you intended to earn.