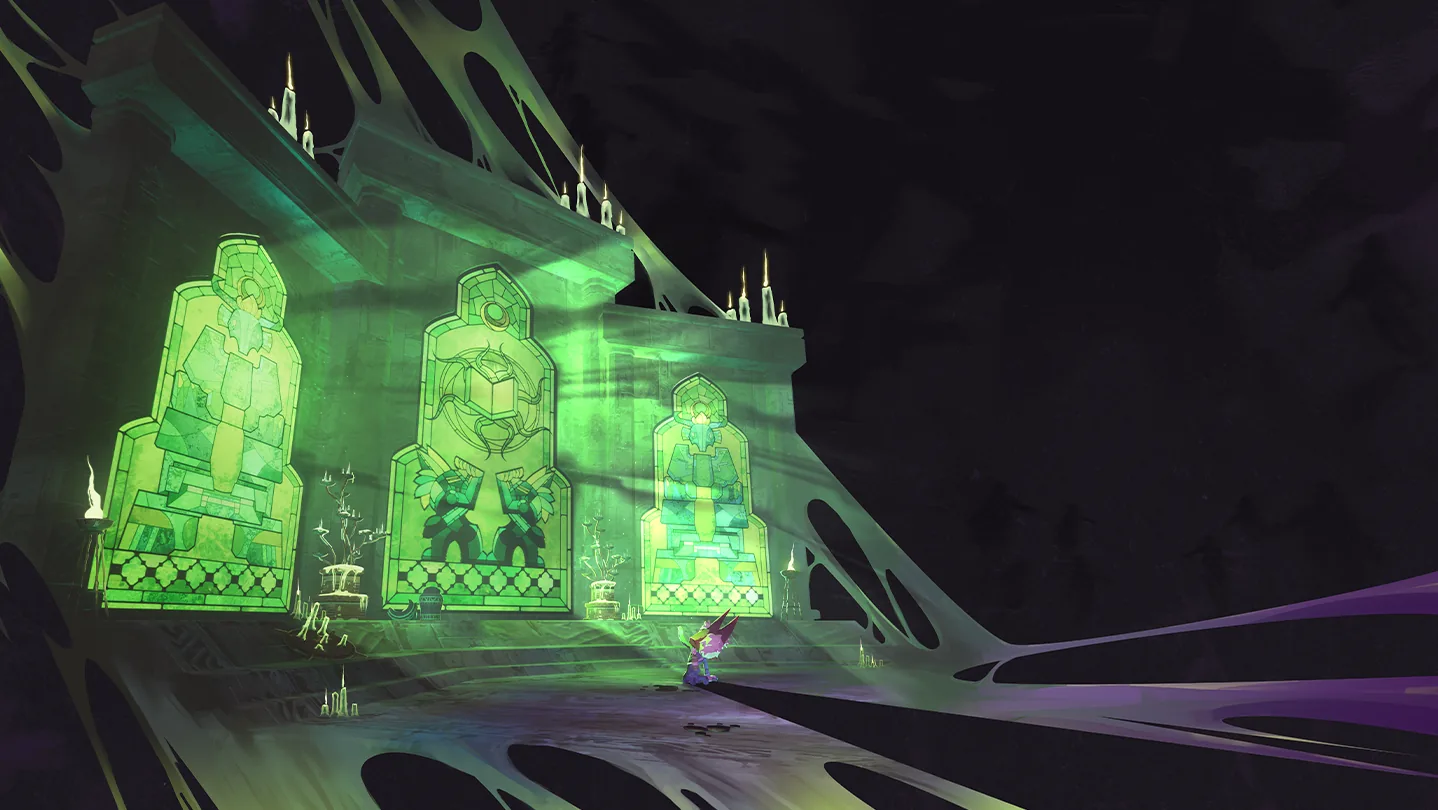
To unlock Acolyte, enable Hallowed Concepts, obtain the N'tormat and enough qualifying pages for your team size, activate a Shrine of Descent before starting the Teleporter, and enter the resulting Ritual Portal. Clear the ritual in Soulbound Threshold, defeat the Anima Harvester, then interact with Acolyte and give her a qualifying healing item. The final offering completes A Broken Ritual. Killing the boss and leaving without reviving her does not finish the unlock.
Bring a healing item before committing to the route. A Medkit or Cautious Slug is a practical choice because you can reserve it for the offering rather than arrive at the end with only damage items. The offered item is consumed. A defensive item that merely helps you survive is not automatically a valid substitute.
Check the expansion and the locked Survivor
Acolyte belongs to Hallowed Concepts, so the expansion must be enabled for the run. Enforcer is the expansion's other Survivor and is available by default with the DLC; his availability does not mean Acolyte has already been unlocked. Acolyte has her own challenge, and completing that challenge is the purpose of this route.
If you are playing in a lobby where another player supplies the expansion content, distinguish access to the route from permanent access to the Survivor. One owner's DLC can enable the expansion's environments, monsters, and items for the lobby, but players without the expansion cannot select its new Survivors or permanently unlock its content. Check your own access before spending a run pursuing a reward you cannot use.

You can attempt the route with a Survivor you already know. This is a sequence of fights and interactions, rather than a requirement to play an unfamiliar character. Choose a loadout that lets you move while dealing damage and recover after a difficult encounter. The later arena includes both groups of enemies and a final boss, so a setup that only handles one of those situations can struggle during the transition.
Reserve the revival item before entering the arena
The last step is easy to overlook because the game opens a way out after the boss dies. Treat the item offering as a prerequisite from the beginning, not as something to solve once you have reached the body. Keep at least one qualifying healing item in your inventory throughout the route.
Medkit and Cautious Slug are useful examples for planning the attempt. You do not need to spend an expensive item simply because it is rare. If you have several healing items, leave yourself a spare so that the offering does not remove your only recovery option when you continue the run afterward.
Be careful with an item that can be consumed automatically. Power Elixir can disappear after a low-health emergency. Finding one early therefore does not prove that you still have it after the Anima Harvester fight. Check the inventory again before entering the ritual and after the boss dies. Carrying an additional qualifying item removes that specific risk.
Do not assume that Tougher Times or Dio's Best Friend will count. Their survival effects do not make them accepted healing offerings for this interaction. The important check is whether the game presents a valid offering at Acolyte's body, rather than whether an item feels broadly defensive.
Obtain the N'tormat and a page together
In solo play, the route needs both the N'tormat Curio and at least one qualifying page. Having seen a page-related event, or having completed a trial without collecting its rewards, is not the same as possessing the required objects. Check the actual inventory before looking for the Shrine of Descent.
Wake events and completed Winnowing trials provide ways to obtain the book and pages. If a Wake event has not appeared during your run, look for a Trial Gong instead. A useful route goes through the Bazaar Between Time: descend into its lower area and look for the gong that starts a Winnowing. Complete the trial's objective, then collect the rewards before returning to the run.
The trial is a means of obtaining the prerequisites. It does not itself complete A Broken Ritual. You still need the subsequent Shrine of Descent encounter, the Ritual Portal, the arena, the boss, and the revival offering. Keeping those steps separate prevents you from leaving a successful trial and wondering why Acolyte remains locked.
In cooperative play, count qualifying pages across the team before entering the next stage. The current Shrine of Descent placement requirement is higher than the solo requirement:
| Players | Qualifying pages required across the team |
|---|---|
| One | One |
| Two | Four |
| Three | Nine |
| Four | Sixteen |
Consumed pages still count, while Shredded Pages do not. Casting a qualifying page is different from removing it from the inventory. The shrine is placed at stage entry when its conditions are met, so a page acquired after entering a stage does not retroactively create the shrine there. The Soul-binding trial can occur only once per run.
Use the following checks after collecting the rewards:
- Confirm that the N'tormat is present.
- Confirm that the team has enough qualifying pages for its player count.
- Confirm that your reserved healing item remains available.
- Return to the ordinary run and inspect subsequent stages for the Shrine of Descent.
If you are missing one of the first two requirements, continue obtaining the relevant rewards before treating a missing shrine as a problem with the unlock route.
Activate the Shrine of Descent before the Teleporter
The Shrine of Descent resembles a Shrine of the Mountain, but its upper structure and glowing eye distinguish it. Approach the shrine and read its interaction prompt rather than judging it only from a distant silhouette. You want the Shrine of Descent specifically.
The order of interactions matters. Activate the Shrine of Descent before activating the stage's Teleporter. The shrine prepares the Soulbinding encounter. Starting the Teleporter first prevents you from adding that encounter afterward on the same stage. Finding the correct shrine late does not repair the order; you need another opportunity in the run.
After activating the shrine, look for the message that a Soulbinding Trial awaits. That confirmation is more useful than simply remembering that you touched a shrine. Once the encounter is prepared, start the Teleporter and deal with the modified event.
Do not confuse the shrine interaction with entering the destination. The shrine does not immediately transport you to Acolyte. It changes the encounter that follows, and the Ritual Portal becomes available only after you complete that encounter. You must finish the combat sequence before taking the route into Soulbound Threshold.
Finish the modified Teleporter encounter
The Soulbinding event goes beyond an ordinary Teleporter clear. The charge can pass the familiar 100% point, and additional enemies continue the encounter. Do not leave the area mentally or physically just because the bar reaches a number that normally means the event is nearly finished.
Keep enough space to reposition. Focus on dangerous targets that are pressuring your movement, then return to the event's central area when it is safe. A character that relies on standing in a fixed position still needs a plan for moving when several enemies attack together. Saving a mobility skill for that situation is more useful than spending it on an enemy you can already reach safely.
Continue fighting until the Soulbinding encounter actually ends and a Ritual Portal appears. The ordinary stage exit and the Ritual Portal have different purposes. Take the Ritual Portal to proceed toward the unlock; advancing through the regular Teleporter exit carries on with the normal route instead.
Before entering, make one last inventory check for the healing offering. This is the last convenient point to notice that a consumable disappeared or that you accidentally gave away the item you intended to keep. Entering the arena with strong damage but no valid offering leaves the final unlock step unresolved.
Clear the four waves in Soulbound Threshold
After entering Soulbound Threshold, follow the ramps toward the arena's central interaction and activate the console to begin the ritual. Arrival alone does not start the entire sequence. You need to use the arena interaction, then clear the enemies it produces.
The ritual contains four combat waves before the final boss. Clear the required targets in each wave so the encounter can advance. A wave that appears to have stopped is not necessarily broken: an enemy may remain alive away from the central fighting area.
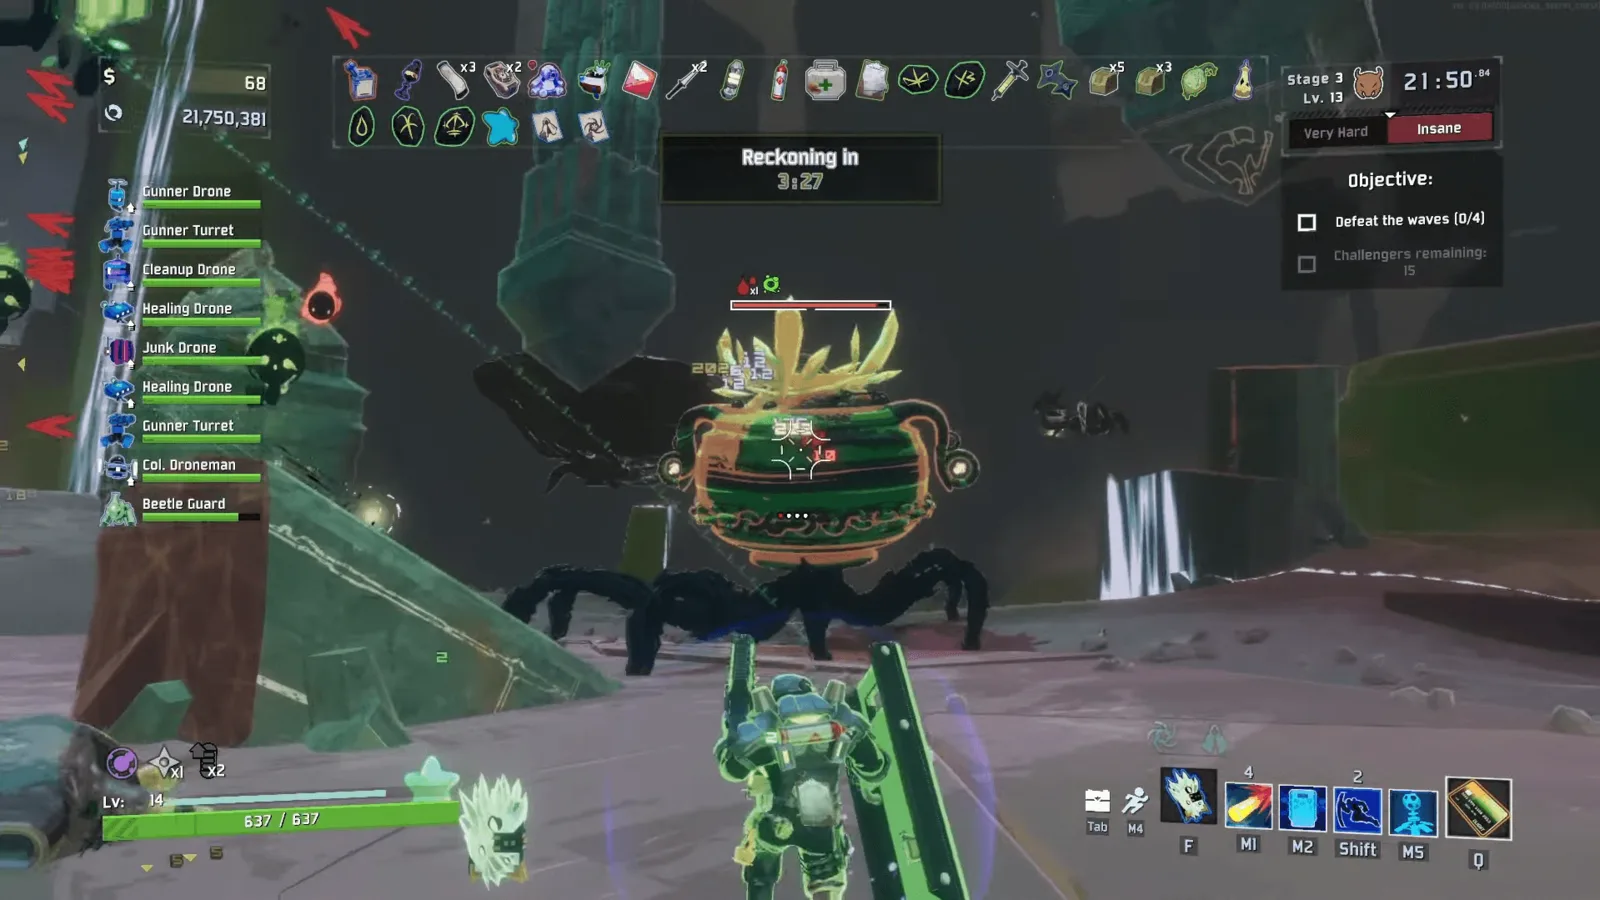
Track the wave objective before the Anima Harvester encounter.
If progression pauses, inspect the surrounding platforms and edges of the arena. Look for targets that were pushed away, followed you out of the center, or remained out of your usual line of sight. Repeatedly interacting with the console does not replace defeating a required enemy.
Manage the waves as preparation for the boss rather than as the endpoint. Keep recovery available and avoid spending every movement option at the same moment. Wave-clearing damage is valuable, but the next opponent is a durable single target. Position yourself so that you can change from clearing scattered enemies to attacking the boss without becoming trapped in a corner.
Defeat the Anima Harvester without leaving immediately
The Anima Harvester appears after the four waves. Finish this fight to reach the revival step. The fight asks you to maintain damage on a single boss after the arena has already tested your ability to clear groups.
Use the available arena space to see attacks and reposition. If your build is strongest against groups, do not assume that the boss will disappear just as quickly as the earlier waves. Maintain a safe damage cycle and keep an escape option available while you work through its health.
The unlock does not require you to prove that Acolyte can fight the Anima Harvester. You are still using your selected Survivor, and Acolyte remains the character you are rescuing. Likewise, the boss's death is a milestone in the challenge, not the final interaction that awards the playable Survivor.
When the boss falls, pause. An exit is available, but leaving now skips the offering. Search the final fighting area for Acolyte's body and approach it closely enough to see the interaction prompt.
Revive Acolyte and verify the challenge
Acolyte's body can be easy to miss while you are moving toward the exit. Look along the ground near the area where the final encounter ended, and use the interaction prompt to distinguish the rescue target from scenery or a dropped item.
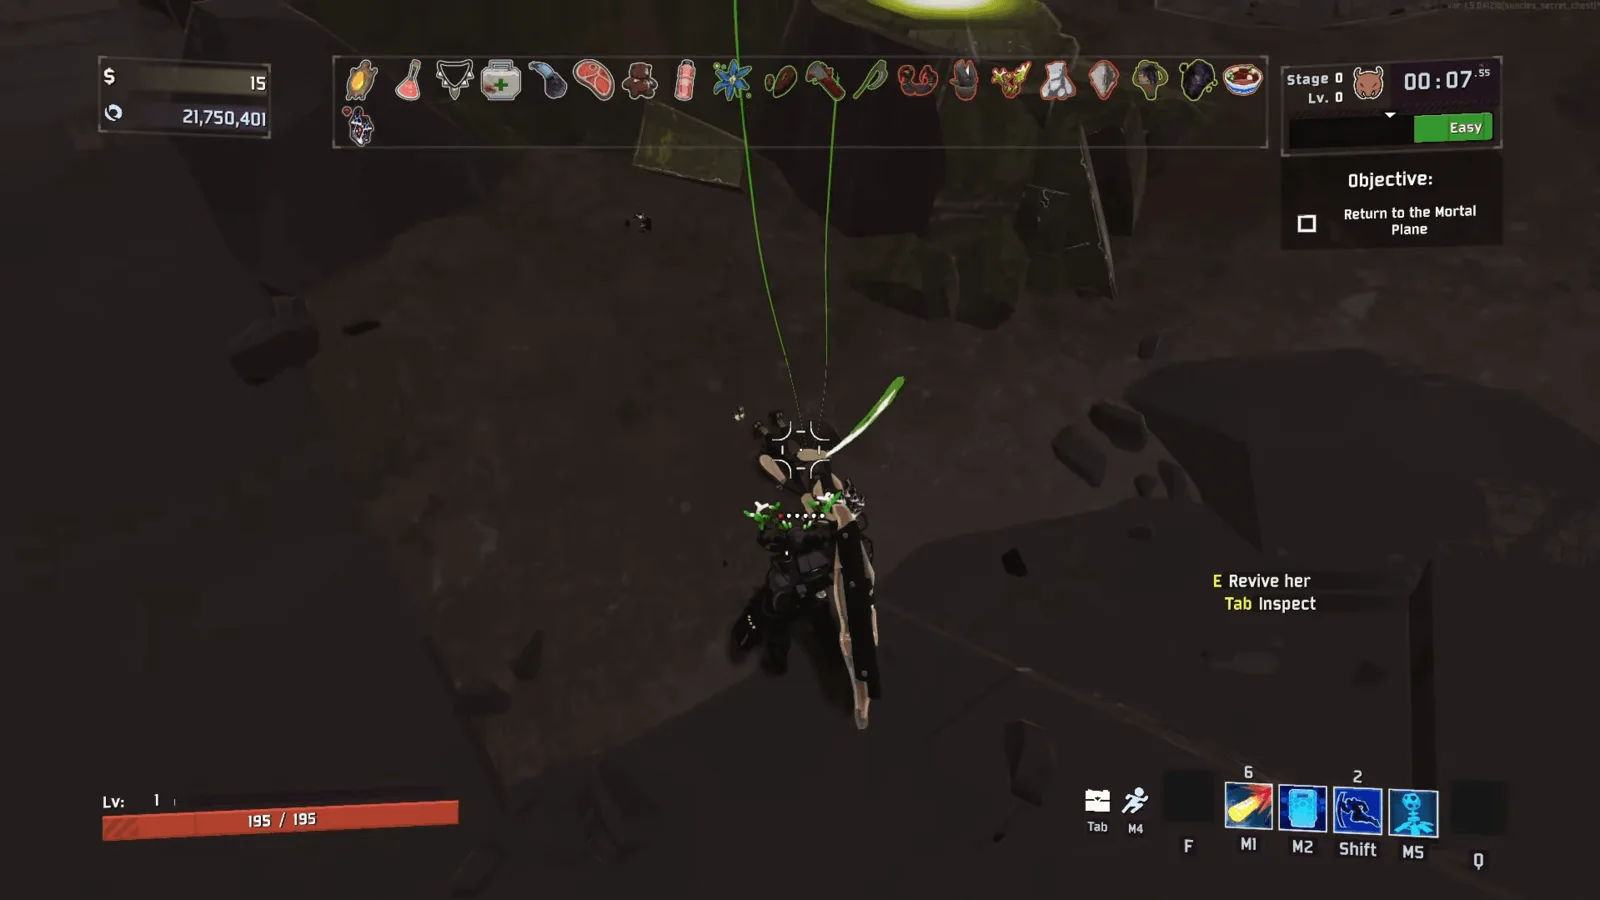
Complete this offering before leaving the arena.
Interact with her and provide a qualifying healing item. Accepting the offering consumes the item and completes A Broken Ritual. After the challenge completes, Acolyte becomes available in your Survivor selection for future runs with the relevant expansion access.
Check the challenge notification before leaving. If the notification has not appeared, return to the body and examine the prompt and your inventory. A completed boss fight, an opened exit, and an available portal are not substitutes for a successful offering.
Recover the route when a step fails
| What happened | Check next |
|---|---|
| No Shrine of Descent is appearing | Confirm possession of both the N'tormat and a page, then inspect subsequent stages. |
| Teleporter cleared without a Ritual Portal | Check whether the Shrine of Descent was activated before the Teleporter. |
| Arena progression stopped | Search the outer platforms for a required enemy that is still alive. |
| Boss died but Acolyte remains locked | Find her body and complete the healing-item offering before leaving. |
| Body is present but there is no valid offering | Check whether your healing item was consumed or whether you brought only defensive items. |
Each failure points to a specific part of the sequence. Solve the missing step instead of repeating unrelated actions: another normal Teleporter clear cannot replace the shrine activation, and additional boss damage cannot replace the item offering. Once the challenge notification appears, leave through the available route and confirm Acolyte in Survivor selection before planning her separate skill or build unlocks.